
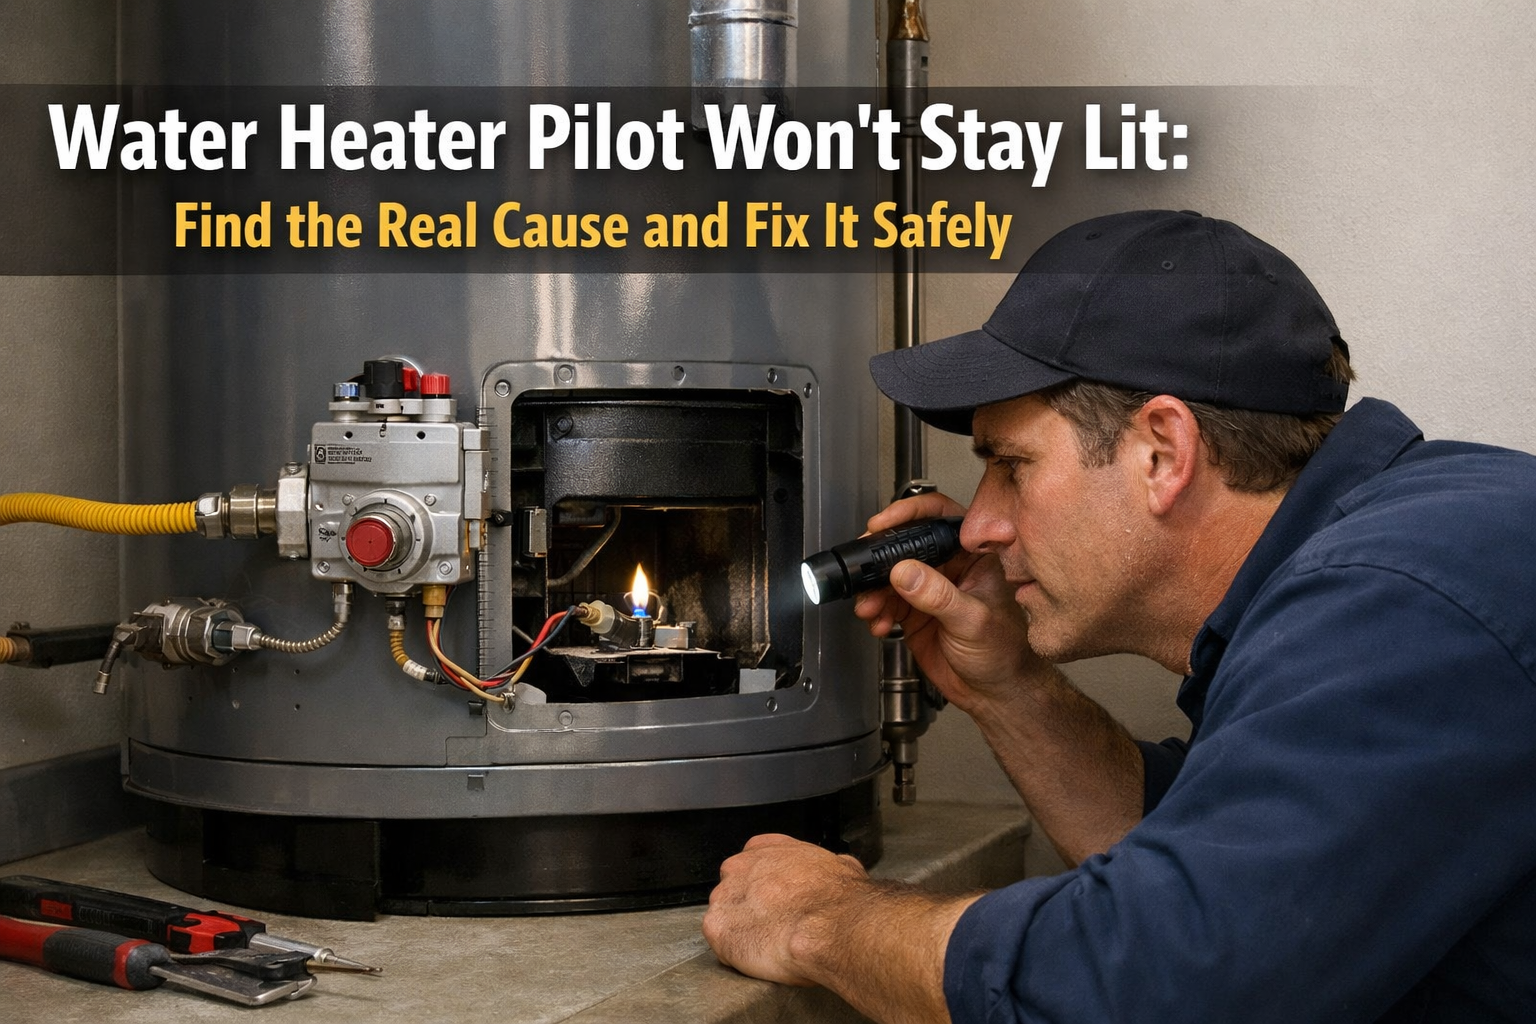
Water Heater Pilot Won’t Stay Lit: Find the Real Cause and Fix It Safely
A pilot light that won’t stay lit is not a random failure.
It means the system is failing to hold the gas open after ignition. That only happens when the heater cannot confirm a stable, safe flame—or detects a condition that makes it unsafe to continue.
The important part is this:
👉 The pilot lighting is not the problem
👉 The system refusing to keep it lit is the real signal
This guide will help you identify exactly why that signal is happening—and what to do next.
🚨 What To Do Right Now (Safety First)
Before diagnosing anything, check your situation:
- If you smell gas → leave immediately and shut off supply
- If the pilot keeps going out after multiple attempts → stop trying
- If the flame is large, yellow, or unstable → turn the unit off
- If the area is drafty or windy → avoid relighting until stable
- If there is moisture or dripping near the burner → shut the system off
👉 Gas issues are not trial-and-error problems. Diagnose once—correctly.
Quick Answer (Fast Classification)
If your pilot won’t stay lit:
- Goes out when you release the button → thermocouple or flame sensing issue
- Flame is weak or flickering → clogged pilot tube or poor gas flow
- Stays lit briefly, then fades → unstable flame or airflow issue
- Goes out later during operation → venting, combustion, or control issue
- Works inconsistently → gas control valve or intermittent failure
Which Pilot Failure Are You Actually Seeing?
Not all “pilot problems” are the same.
1. Won’t stay lit after release
👉 Flame sensing failure (most common)
2. Stays lit briefly, then dies
👉 Weak flame or unstable combustion
3. Stays lit, then goes out later
👉 Venting, airflow, or control issue
Understanding which one you have changes everything.
How the Pilot-Holding System Works
When you light the pilot:
- gas flows into the pilot tube
- the flame ignites
- the thermocouple heats up
- the thermocouple signals the gas valve to stay open
If the thermocouple does not detect enough heat—or loses contact with the flame—the system shuts the gas off immediately.
This is a safety feature, not a malfunction.
So when your pilot won’t stay lit, one of three things is happening:
- the flame is not strong enough
- the sensor is not detecting it properly
- the control system is not responding correctly
Step-by-Step Diagnosis (Gas-Specific)
Step 1 — Light the pilot and observe release behavior
- goes out instantly → thermocouple or flame contact
- stays briefly, then fades → weak flame
Step 2 — Look closely at flame quality
A proper flame should be:
- steady
- mostly blue
- directly touching the thermocouple
If it is:
- small → low gas flow
- yellow → combustion issue
- flickering → airflow problem
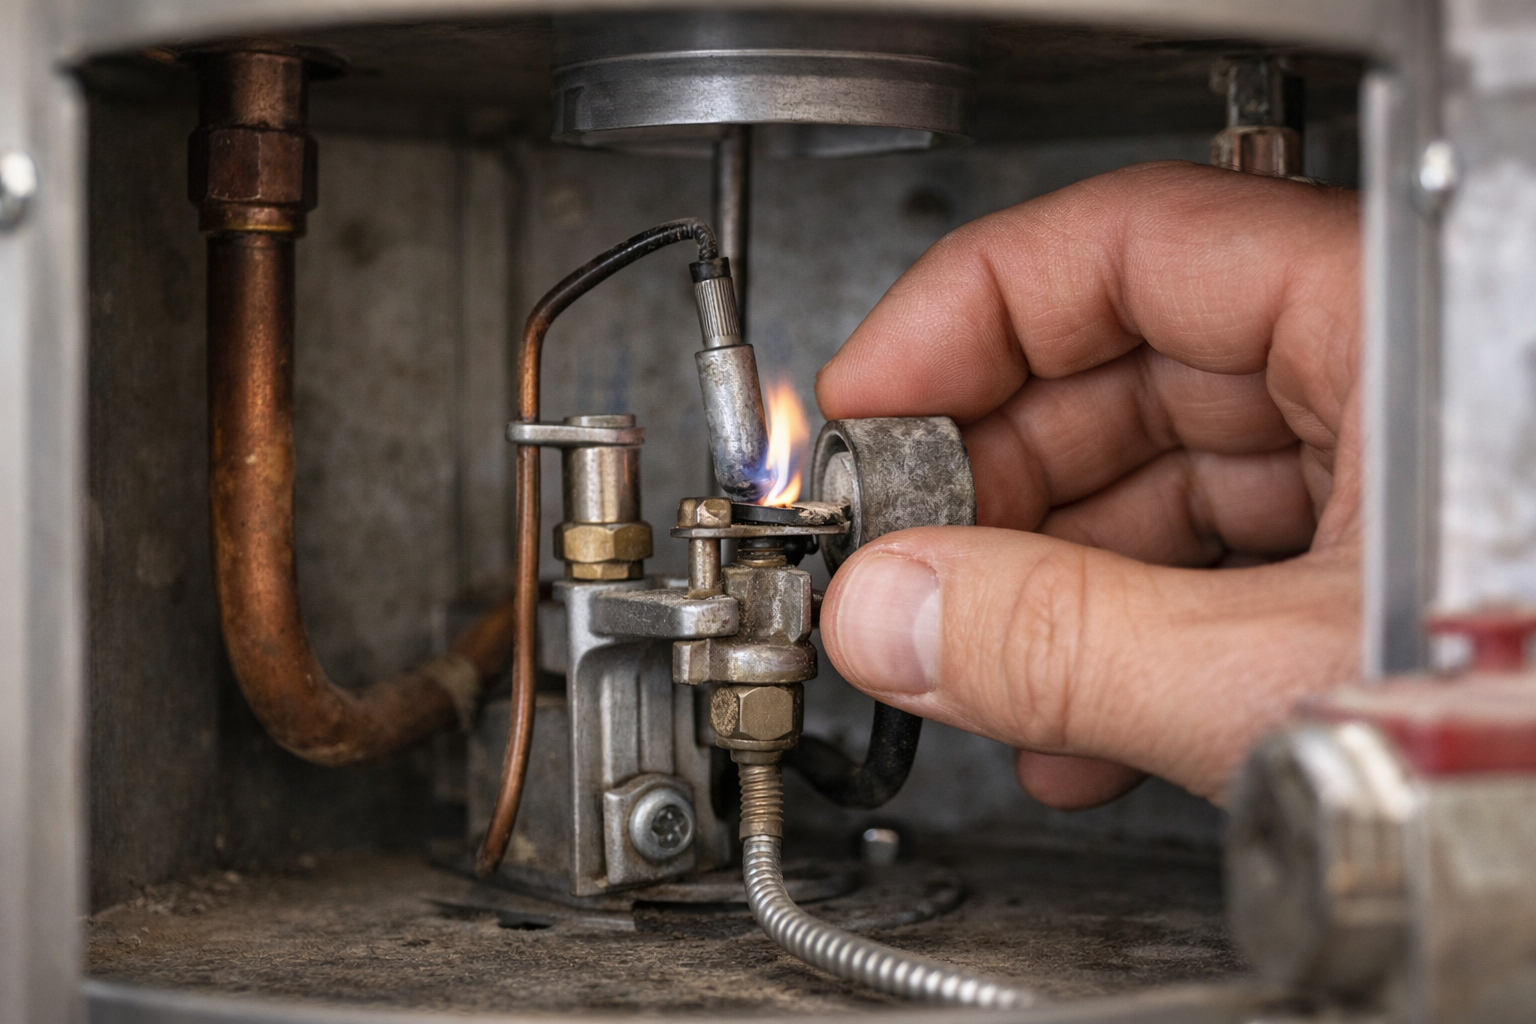
Step 3 — Check flame-to-sensor contact
If the thermocouple is not fully inside the flame:
👉 the system will shut off every time
This is extremely common and often overlooked.
Step 4 — Watch what happens over time
- fails immediately → sensor issue
- fails after seconds → flame strength issue
- fails after minutes → airflow or control issue
Timing reveals the failure path.
Real Causes (Grouped by System Failure Path)
Flame-Sensing Path
- worn thermocouple
- dirty thermocouple
- poor flame contact
👉 Most common cause category
Flame-Quality Path
- clogged pilot tube
- low gas pressure
- restricted flow
👉 Results in weak or unstable flame
Combustion / Airflow Path
- drafty installation area
- venting issues
- airflow disruption
👉 Often causes delayed shutdown (not immediate)
Control Path
- faulty gas control valve
- internal valve malfunction
👉 Usually appears as inconsistent behavior
Environmental Factors (Less Common)
- condensation dripping into burner
- high humidity affecting flame stability
These are rare—but real.
Exact Fix Based on What You Observe
What You See | What It Usually Means | Fix | DIY or Pro | Cost |
dies immediately after release | thermocouple failure | replace sensor | Pro | $100–$250 |
weak or small flame | clogged pilot tube | clean pilot | DIY | $0–$150 |
flame not touching sensor | misalignment | reposition | DIY | minimal |
goes out after some time | airflow issue | check venting | Pro | $100–$300 |
inconsistent behavior | gas valve issue | replace valve | Pro | $300–$700 |
What You Can Check Yourself vs Call a Pro
You can check:
- flame quality
- thermocouple position
- visible dirt or buildup
- obvious drafts
Call a professional if:
- gas valve is suspected
- pilot keeps failing after cleaning
- venting or airflow issues exist
- behavior is inconsistent or unpredictable
When It’s Not Worth Repairing
This is where most people lose money.
Repair makes sense if:
- thermocouple or cleaning issue
- clear, isolated cause
Replacement is smarter if:
- gas valve is failing
- unit is older
- issue keeps returning
👉
water-heater-replacement-cost
Real Scenario (Expanded)
A homeowner relights the pilot. It stays lit for a few seconds, then goes out.
They assume the thermocouple is bad.
But the flame is weak and barely touches the sensor.
The real issue is a partially clogged pilot tube.
Cleaning restores a strong flame, and the pilot stays lit without replacing any parts.
Prevention
- keep pilot assembly clean
- ensure stable airflow around the unit
- inspect flame periodically
👉
water-heater-maintenance-schedule
Also check related system issues:
The One Mistake to Avoid
Replacing the thermocouple without checking flame quality.
If the flame is weak, the new sensor will fail the same way.
Limitations
This guide applies to:
- gas tank water heaters
Not covered:
- electric systems
- advanced ignition systems
Final Insight
A pilot that won’t stay lit is a confirmation failure, not an ignition problem.
Once you identify whether the issue is with the flame, the sensor, or the control system, the fix becomes straightforward—and often much simpler than expected.